

Introduction
An application is the top-level unit for deploying and managing your code on Laravel Cloud. You can create applications from official Laravel starter kits or from existing GitHub, Bitbucket, or GitLab repositories. An application can contain many environments and resources.Creating applications
Laravel Cloud offers two ways to create applications:- From a starter kit, which bootstraps a new application from an official Laravel starter kit
- From an existing repository, which imports and deploys your existing Git repository
You cannot transfer an application to another organization after you create it. Each application stays permanently associated with the organization you create it in.
Creating from starter kits
You can create applications from official Laravel starter kits. Starter kits let you deploy a production-ready Laravel application in minutes without an existing repository.Available starter kits
Laravel Cloud provides the following official starter kit templates:- Laravel: a new, empty Laravel application
- React Starter Kit: React, TypeScript, Inertia, and shadcn/ui
- Vue Starter Kit: Vue, TypeScript, Inertia, and shadcn-vue
- Svelte Starter Kit: Svelte, TypeScript, Inertia, and shadcn-svelte
- Livewire Starter Kit: Livewire, Laravel Volt, and Flux UI
Creating from a starter kit
To create an application from a starter kit:- On the application creation page, select Use a template.
- Choose your starter kit template.
- If you have not connected your GitHub account yet, connect it. Starter kits are available only with GitHub.
- Set your repository name and choose its visibility (private or public).
- Assign an application name.
- Select your deployment region.
Starter kit applications work exactly like any other Laravel application on Laravel Cloud. Once deployed, you can customize, extend, and deploy changes the same way you do for applications created from existing repositories.
Creating from existing repository
To create an application from an existing repository, select the source control repository to deploy from, assign the application a name, and select a region. Existing repositories can contain applications built with any of Laravel Cloud’s supported frameworks and runtimes. If you have not linked a source control provider account to your organization yet, Laravel Cloud prompts you to link one when you create your application. Typically, your Laravel Cloud organization structure should mirror the organization structure of your source control provider.After you authenticate a source control provider, every user in the organization can view the repositories you selected and create applications from them.
Regions
Laravel Cloud currently supports the following application regions:- US East (Virginia) /
us-east-1 - US East (Ohio) /
us-east-2 - CA Central (Central) /
ca-central-1 - EU Central (Frankfurt) /
eu-central-1 - EU West (Ireland) /
eu-west-1 - EU West (London) /
eu-west-2 - Asia Pacific (Singapore) /
ap-southeast-1 - Asia Pacific (Sydney) /
ap-southeast-2 - Asia Pacific (Tokyo) /
ap-northeast-1
Deleting applications
When you delete an application, Laravel Cloud deletes all environments within that application. Laravel Cloud does not delete resources such as databases, key-value stores, and object storage buckets, since other applications within the environment may use them. To delete these resources, navigate to your organization’s Resources tab.Troubleshooting
Reconnect Git repository
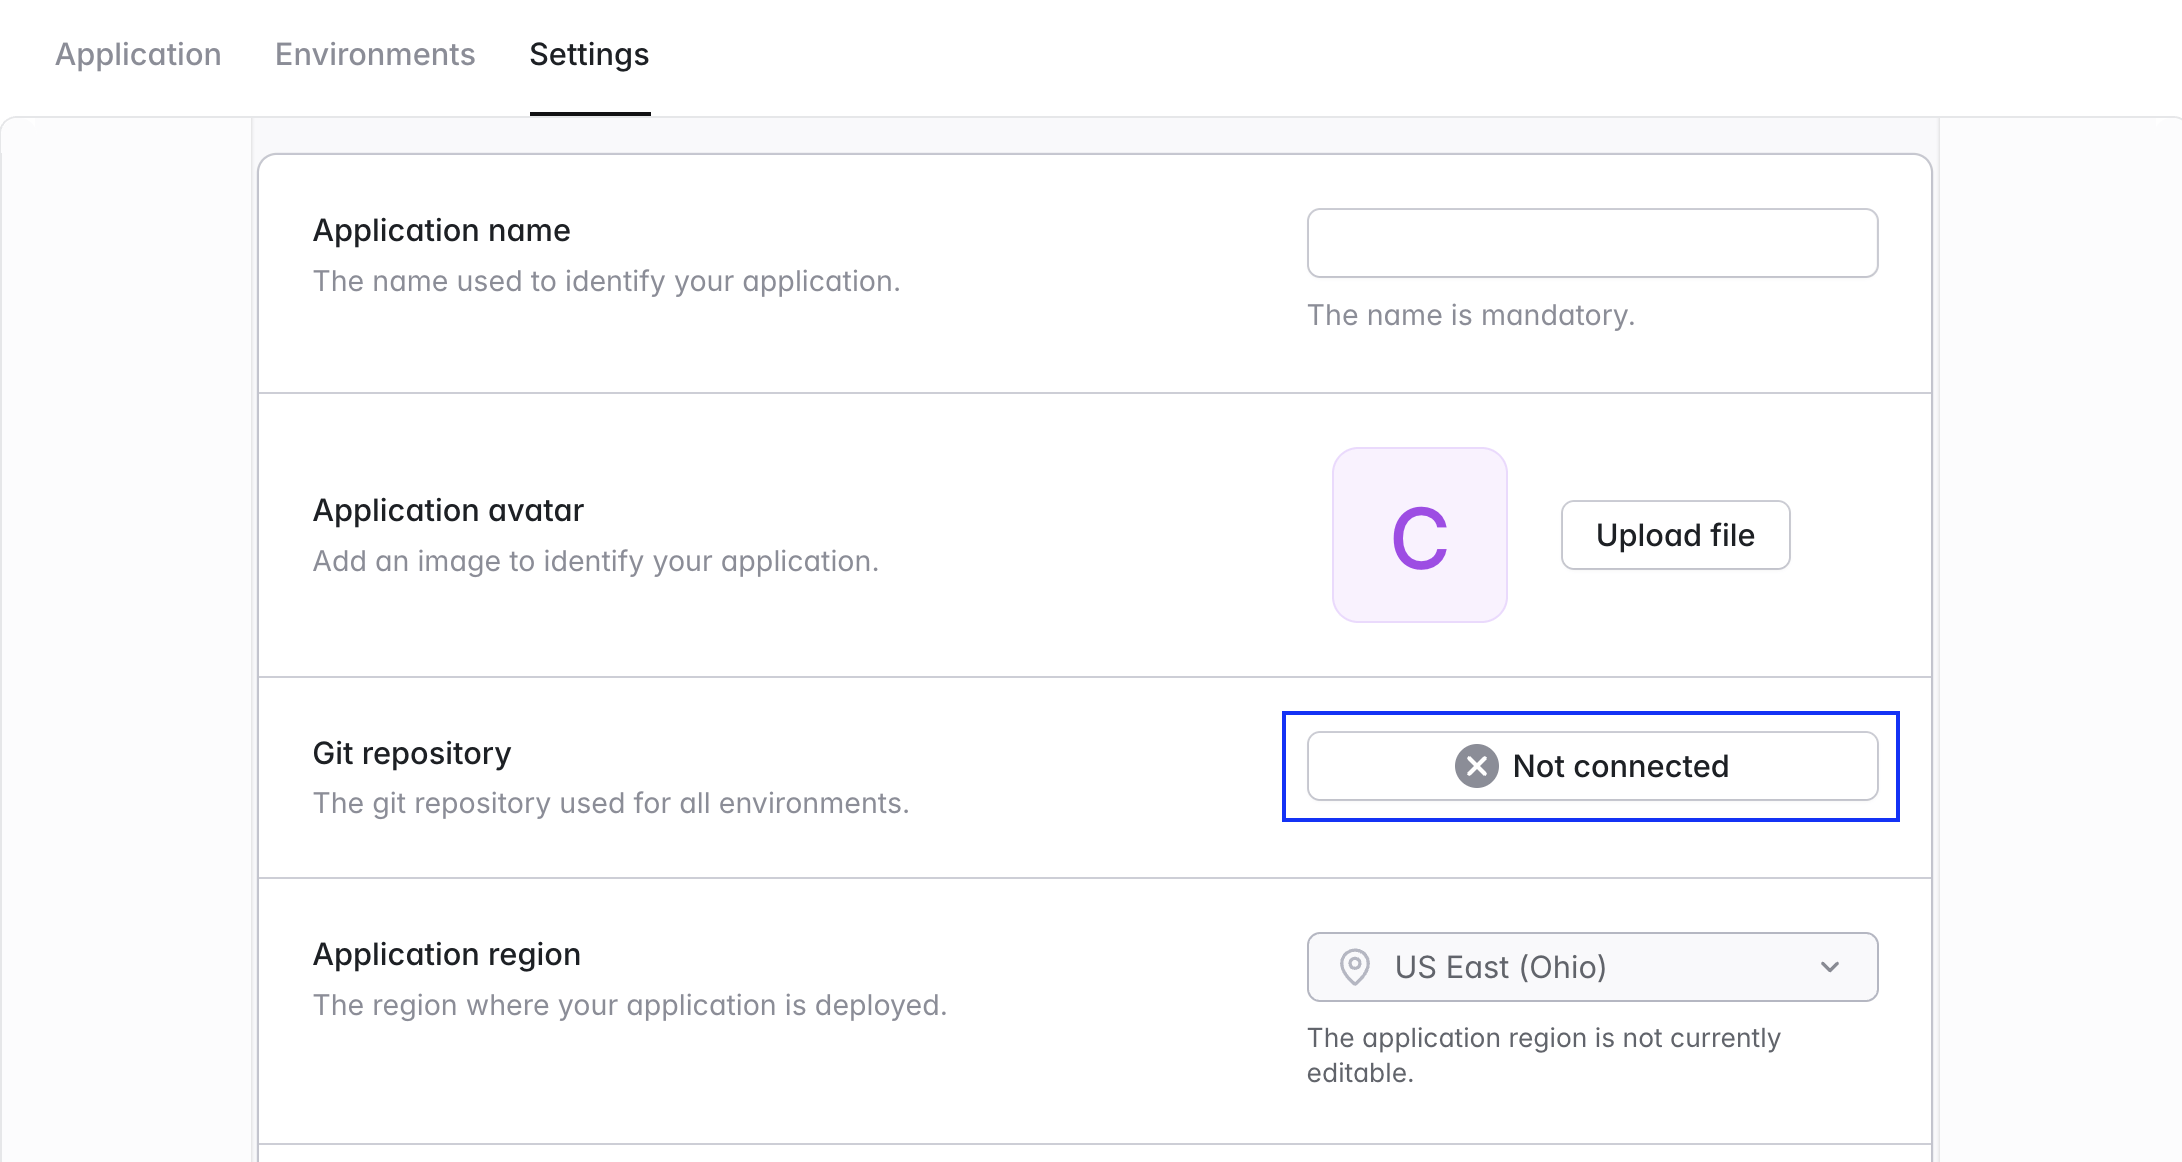
An application can lose its connection to a Git repository if someone revokes Laravel Cloud’s API access from within the source control provider. When the connection is lost, your application’s environments can no longer deploy your latest changes. To restore your Git connection, follow these steps:- Navigate to your application’s Settings page.
- Click the Not connected button next to Git repository.
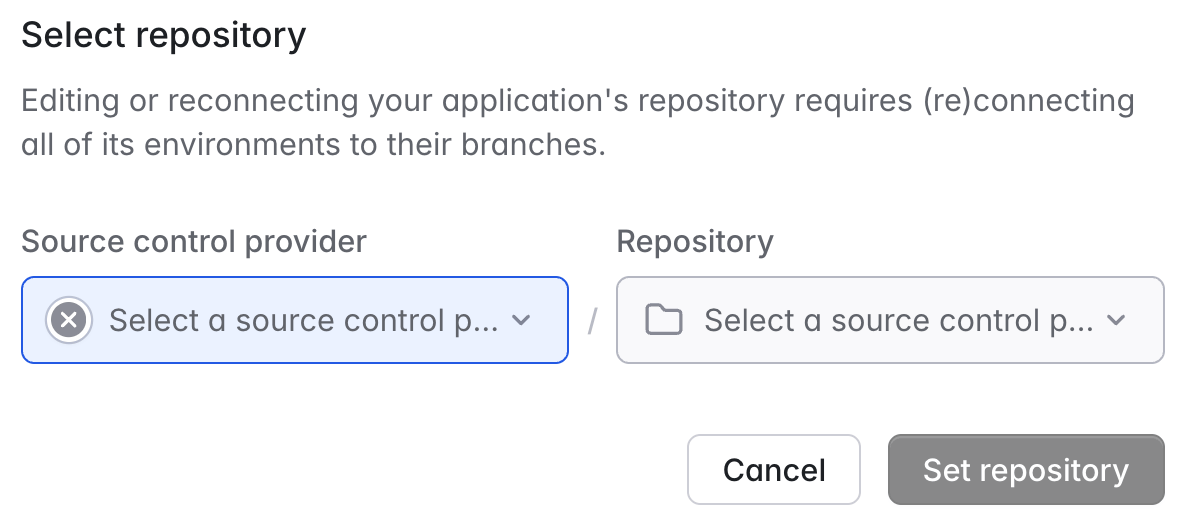
- Click the Source control provider dropdown and select an existing source control provider. To connect a new one, click Add account.
- Select the right repository, click Set repository, and then click Save.
In most cases, Laravel Cloud restores environment branches automatically. In some cases, you may need to select and save environment branches manually from the environment Settings tab.