Introduction
Laravel Cloud provides fully managed AWS RDS databases (both MySQL and Postgres) for your application. RDS database clusters support point-in-time recovery (PITR), read replicas, and multiple deployment options.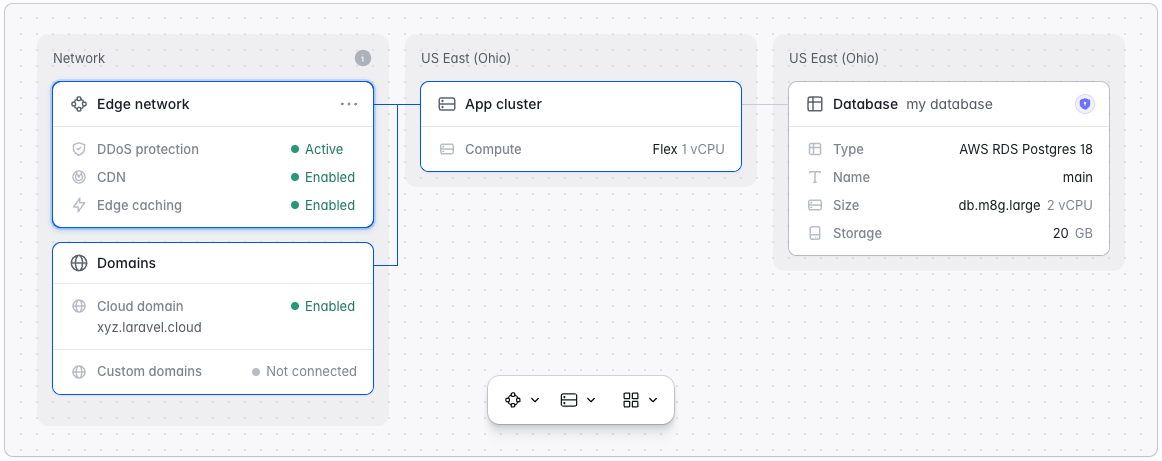
RDS databases are available only with Private Cloud. If you do not see RDS as an option when creating a database, contact us to provision Private Cloud in your chosen region.
Creating RDS databases
To create and attach an RDS database to an environment:- Navigate to Organization > Resources > Databases
- Click + New database cluster and fill in the following fields:
- Cluster name: a unique name for your database cluster
- Type: AWS RDS MySQL 8.4 or AWS RDS Postgres 18
- Region: a Private Cloud region
- Configuration: a preset, or your own RDS configuration
Laravel Cloud may take up to 20 minutes to fully create your RDS database. You do not need to stay on the page.
Customizing RDS databases
Laravel Cloud gives you complete control over your RDS configuration. When you create or edit an RDS database cluster, you may control the settings described in the following sections.Choosing the right compute size
Laravel Cloud supports both m8g and m7g instances (depending on your desired region). The amount of RAM your RDS database cluster has determines how many simultaneous connections it can support:
You can update your compute size at any point. Changing the compute size restarts the instance and causes a short period of downtime. On a Multi-AZ deployment, applying the change triggers a failover to the standby instance, which typically takes 60 to 120 seconds.
Provisioning storage
You may provision from 20GB up to 1,000GB of storage on your RDS database cluster. While you can increase this value at any point, you can never decrease it.Enabling public endpoint
By default, RDS database clusters on Laravel Cloud are not publicly accessible. To enable public access, enable the public endpoint in your RDS database cluster settings. You can change this setting at any time.Picking a maintenance window
AWS may occasionally need to perform maintenance on your RDS instance. Maintenance may cause downtime. You can control your scheduled maintenance window by clicking Edit settings > Maintenance window and picking a 30-minute slot. If you don’t pick a specific time slot, AWS performs those updates during the default time slot for your region.Selecting a deployment option
Laravel Cloud supports the following RDS deployment options:- Single-AZ, 1 instance. One DB instance in a single availability zone. Best for development or non-critical workloads.
- Single-AZ, with read replicas. One primary instance plus up to 15 read replicas for read-heavy workloads.
- Multi-AZ, 2 instances. Two instances in different availability zones for higher availability. AWS automatically fails over to the standby if the primary fails.
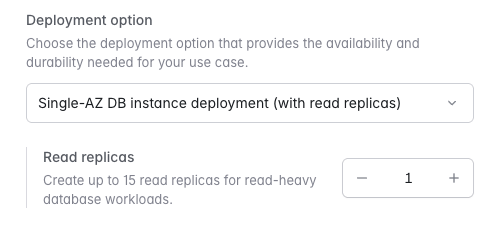
Using read replicas requires enabling point-in-time recovery (PITR) with a retention period of at least 1 day.
Connecting to database clusters
From your application
When you attach a database to an environment, Laravel Cloud automatically injects database connection environment variables, includingDB_HOST, DB_USERNAME, DB_PASSWORD, and DB_DATABASE. You may view these variables under Environment > Settings > General > Injected variables.
From your local machine
To connect to your database from your local machine, navigate to Organization > Resources > Databases, click your RDS database cluster, and click View credentials at the top of the page. Make sure your public endpoint is enabled. In the credentials dialog, use the Open in database client button in the Deeplink field to open your database in a management client like TablePlus. You can also connect manually with the provided credentials.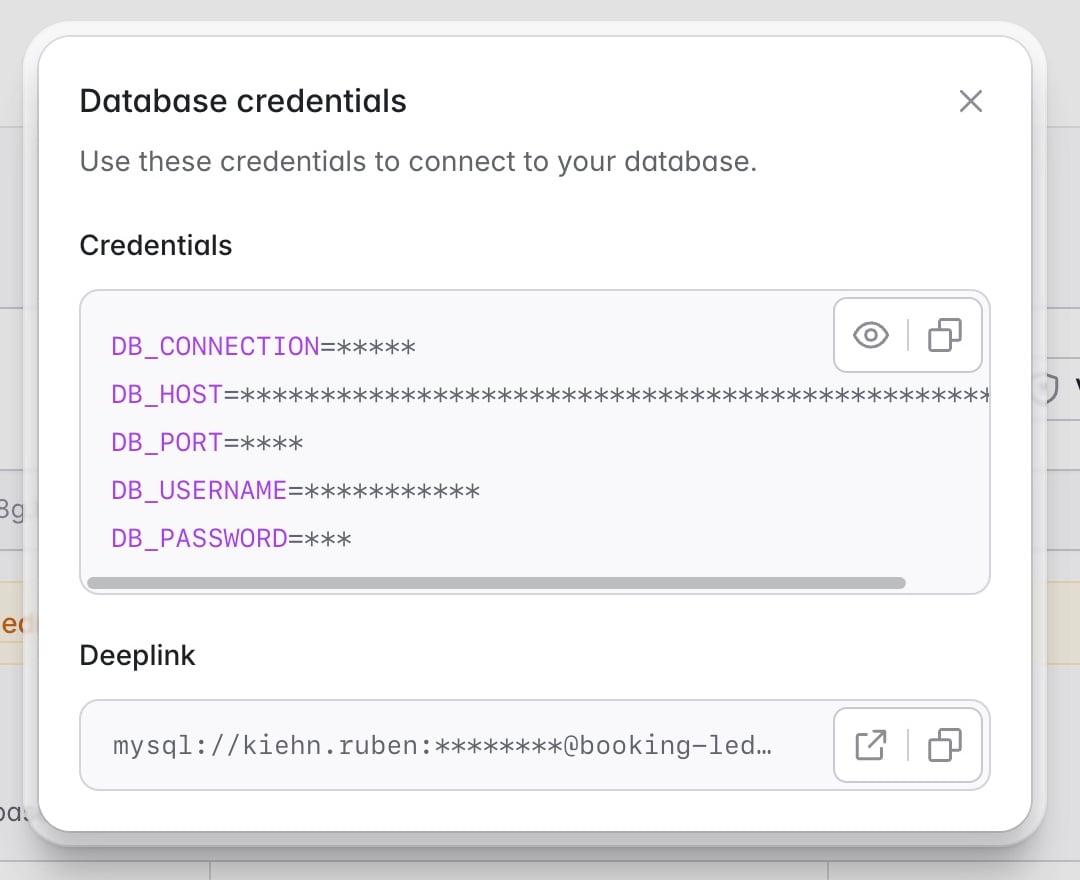
SSL connections
RDS public endpoints present a certificate issued by a public certificate authority (Let’s Encrypt), so your client can verify the server’s identity using your operating system’s built-in CA bundle. You do not need to download a certificate. Traffic is encrypted between your client and Laravel Cloud’s proxy layer. The proxy’s connection to the underlying RDS database runs within Laravel Cloud’s private network, and Laravel Cloud does not encrypt it separately. RDS MySQL Laravel applications should set theMYSQL_ATTR_SSL_CA environment variable, which Laravel passes to PDO (Pdo\Mysql::ATTR_SSL_CA on PHP 8.4 and later):
mysql client, connect with VERIFY_IDENTITY mode and point --ssl-ca at your system CA bundle:
psql client (libpq 16 and later), connect with sslmode=verify-full and the system trust store:
Database users
Laravel Cloud creates every RDS database cluster with a default user and injects that user’s credentials into your environment as theDB_USERNAME and DB_PASSWORD environment variables. You may also create additional users with their own credentials and access level. For example, you might create a read-only user for a reporting tool or a scoped user for a background service. RDS MySQL, RDS Postgres, and Laravel MySQL clusters all support database users.
Creating a database user
To create a new database user:- Navigate to Organization > Resources > Databases and click the database cluster.
- In the Database users section, click New user.
- Configure the user:
- Username: a unique username for the user
- Permission: Read-only or Read-write
- Access (optional): the specific databases within the cluster that the user can reach
- Click Create database user.
You cannot edit or delete the default user that Laravel Cloud injects into your environment.
Read-only vs. read-write access
- Read-only users may query data but cannot insert, update, or delete records or modify the schema. Read-only access is a good fit for reporting dashboards or teammates who need only to inspect data.
- Read-write users have full read and write access to the schemas they are scoped to.
Database backups
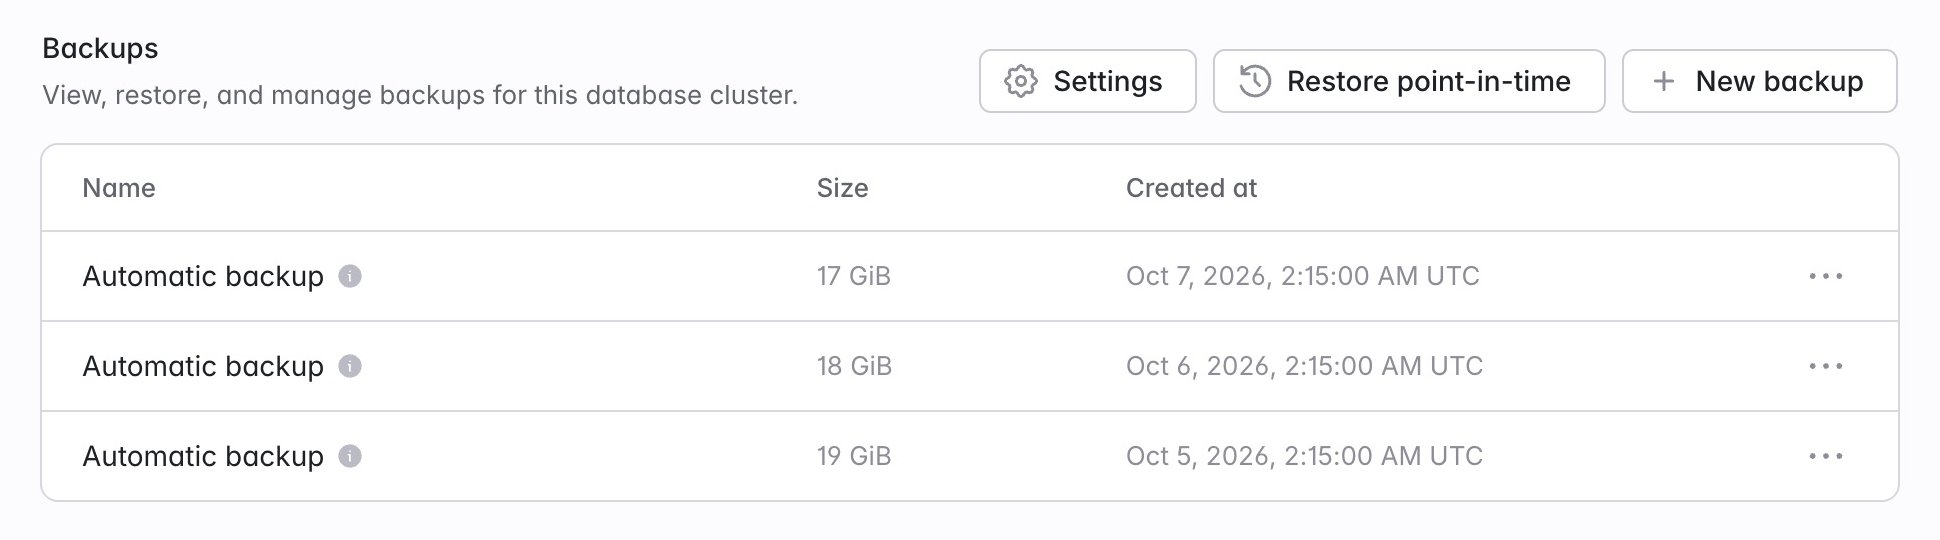
To configure backups for your RDS database cluster:- Navigate to Organization > Resources > Databases.
- Click your RDS database cluster.
- In the Backups section, click Settings.
- Enable the Backups toggle and configure Backup retention.
- Click Update to save your settings.
Point-in-time recovery (PITR)
Point-in-time recovery (PITR) combines daily snapshots with continuous transaction logging to protect your data. With PITR, you can restore your database to any specific second within your retention period (up to 30 days). To adjust the PITR retention period, click Settings in your cluster’s Backups section, change Backup retention, and click Update.Manual snapshots
To take a manual snapshot, click New backup in your database cluster’s Backups section, provide a name and an optional description, and click Create backup. Laravel Cloud keeps manual snapshots until you delete them, independent of the PITR retention period.