

- Laravel
- Symfony
- Next.js
- Nuxt
- Node.js
- Go
- Python
- Ruby and Rails
- Rust
Prerequisites
- A supported PHP version
- Laravel 9.x or greater
- A GitHub, GitLab, or Bitbucket account
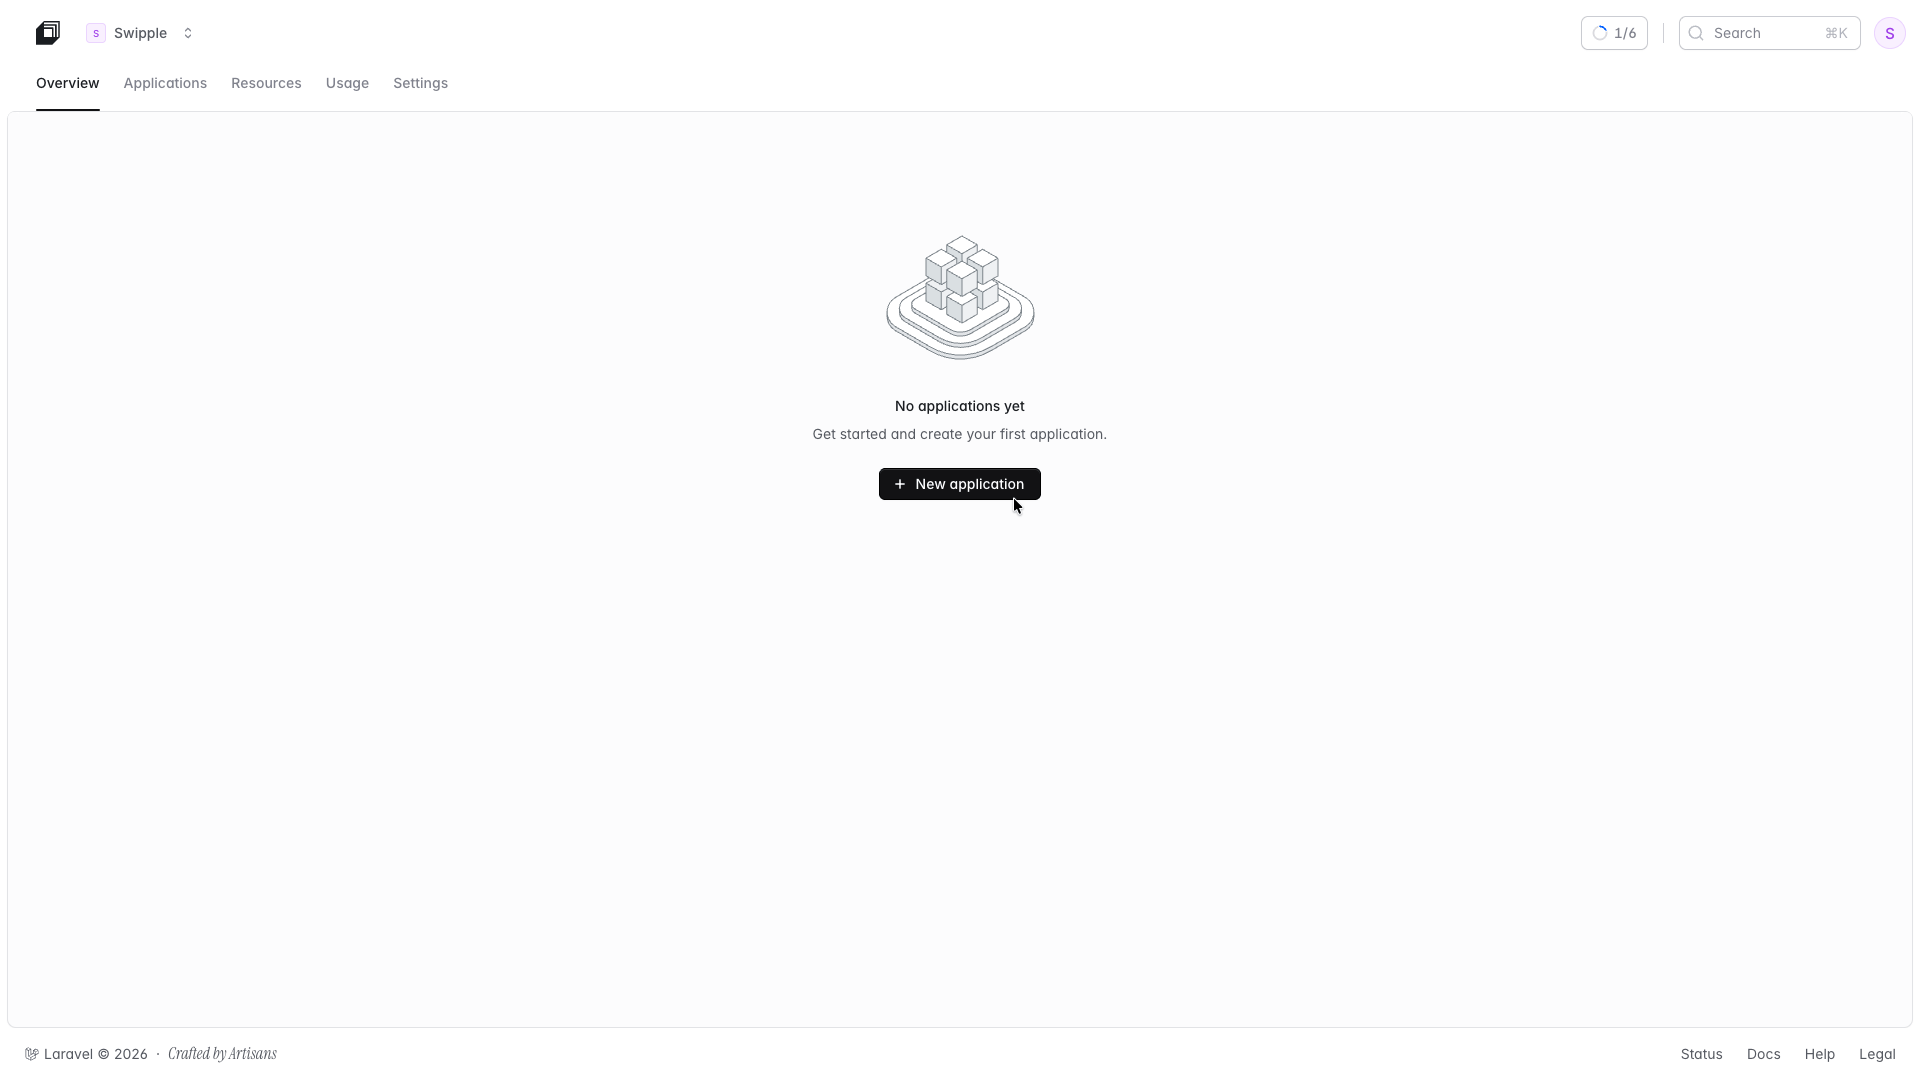
Go to your main Laravel Cloud dashboard page and select + New application.
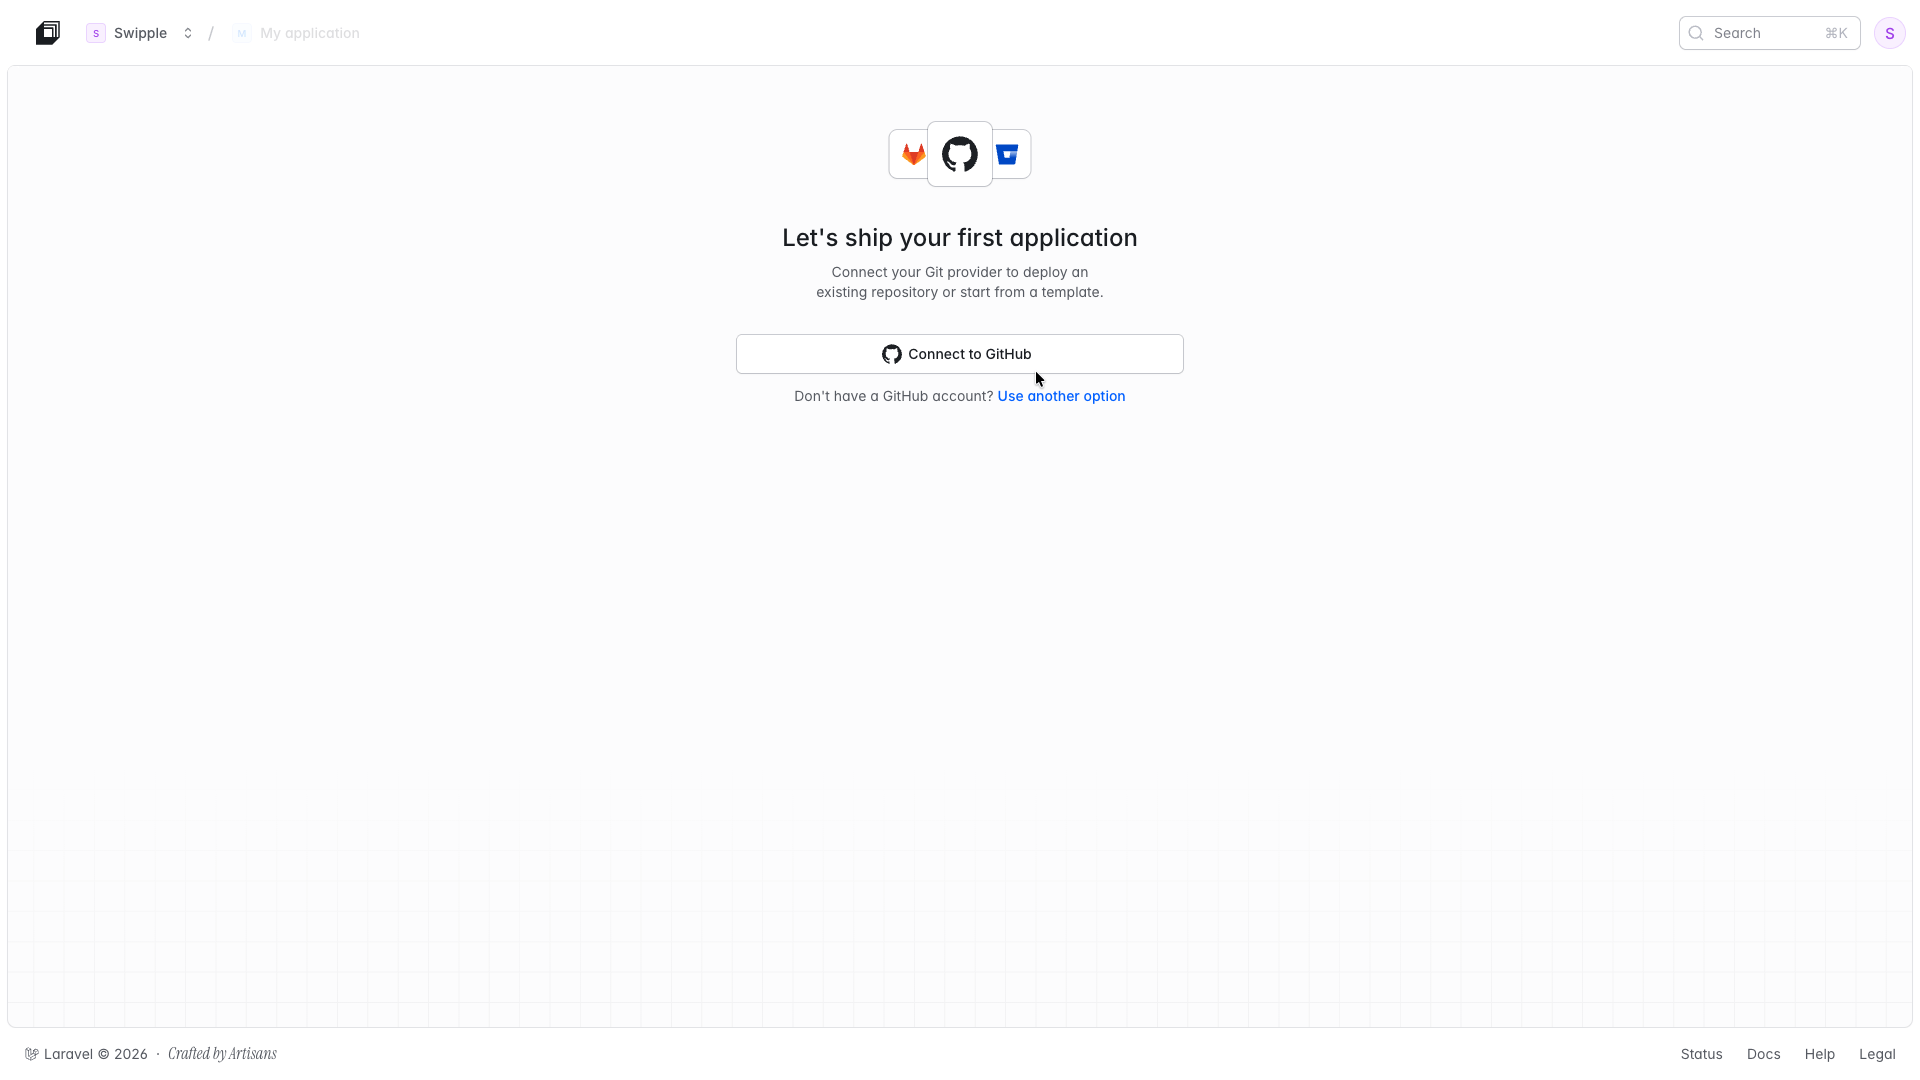
Connect your Git provider
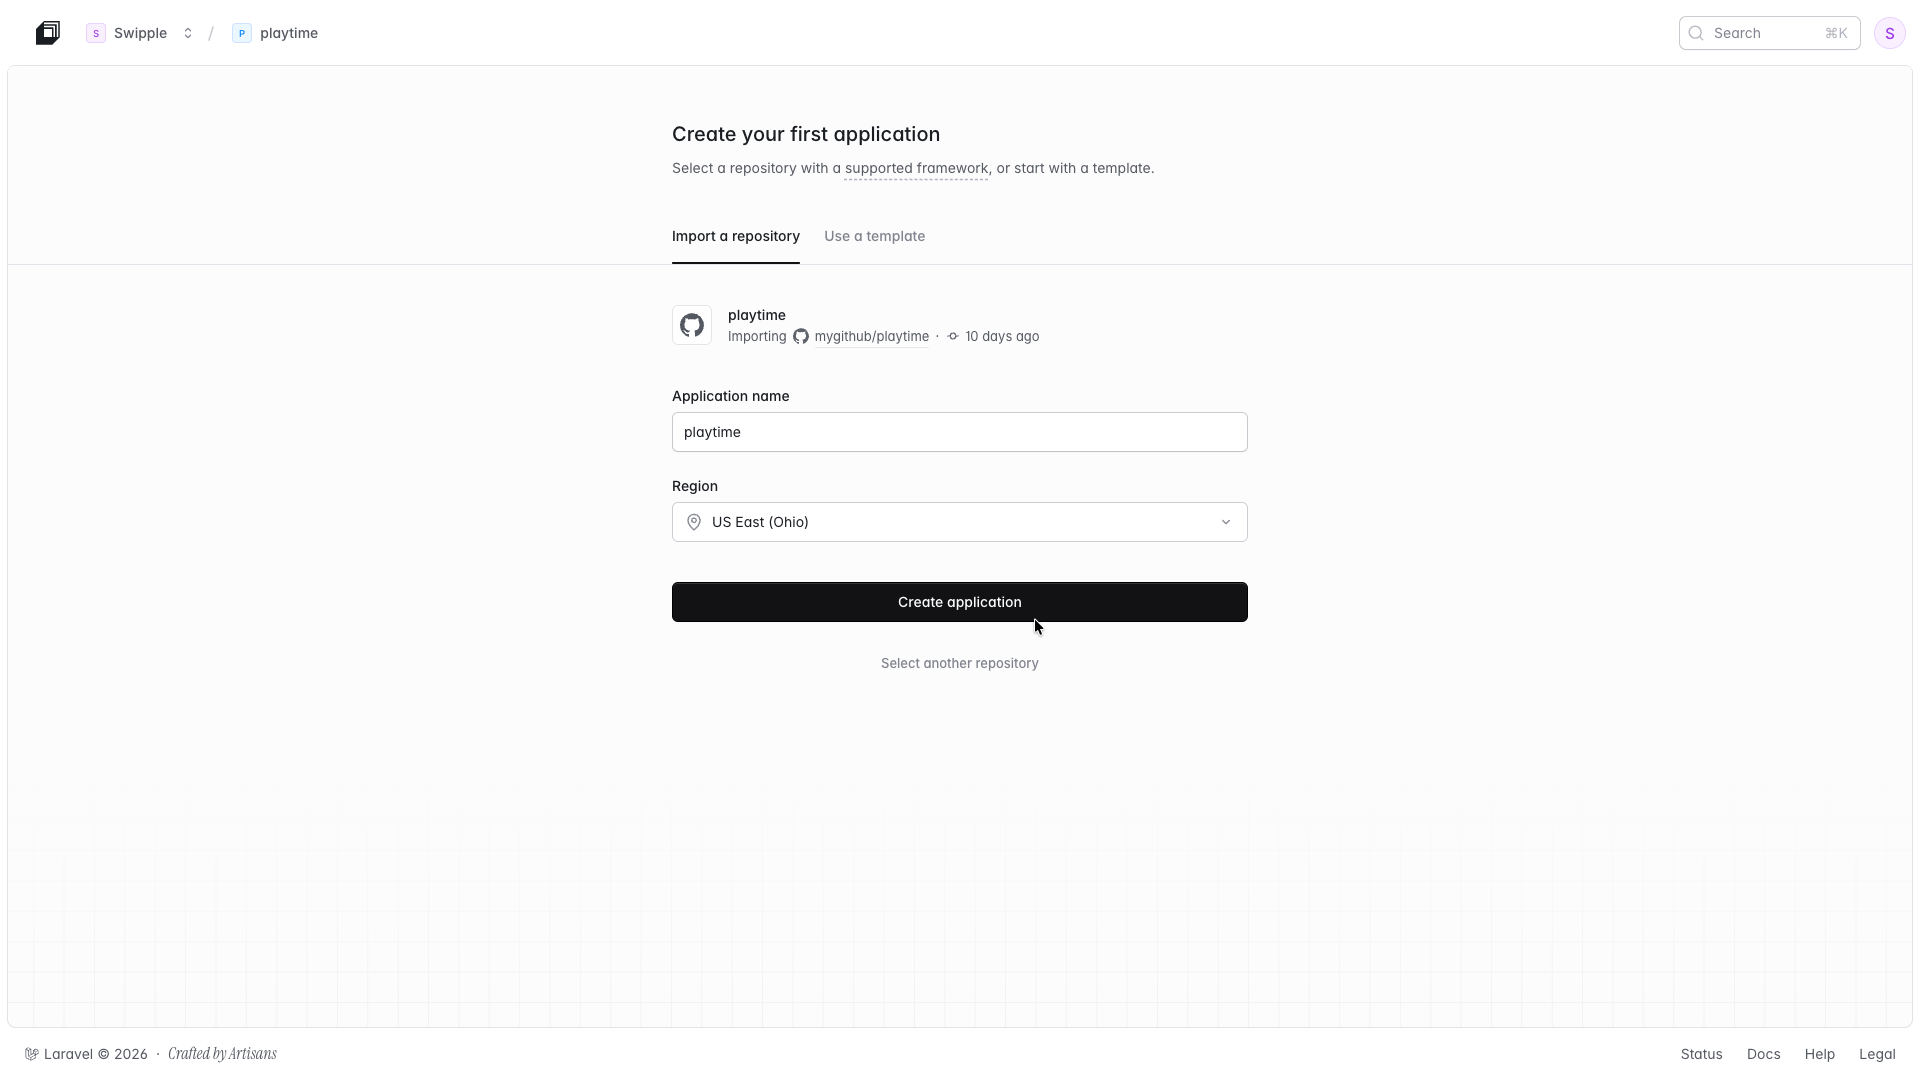
Create a new application
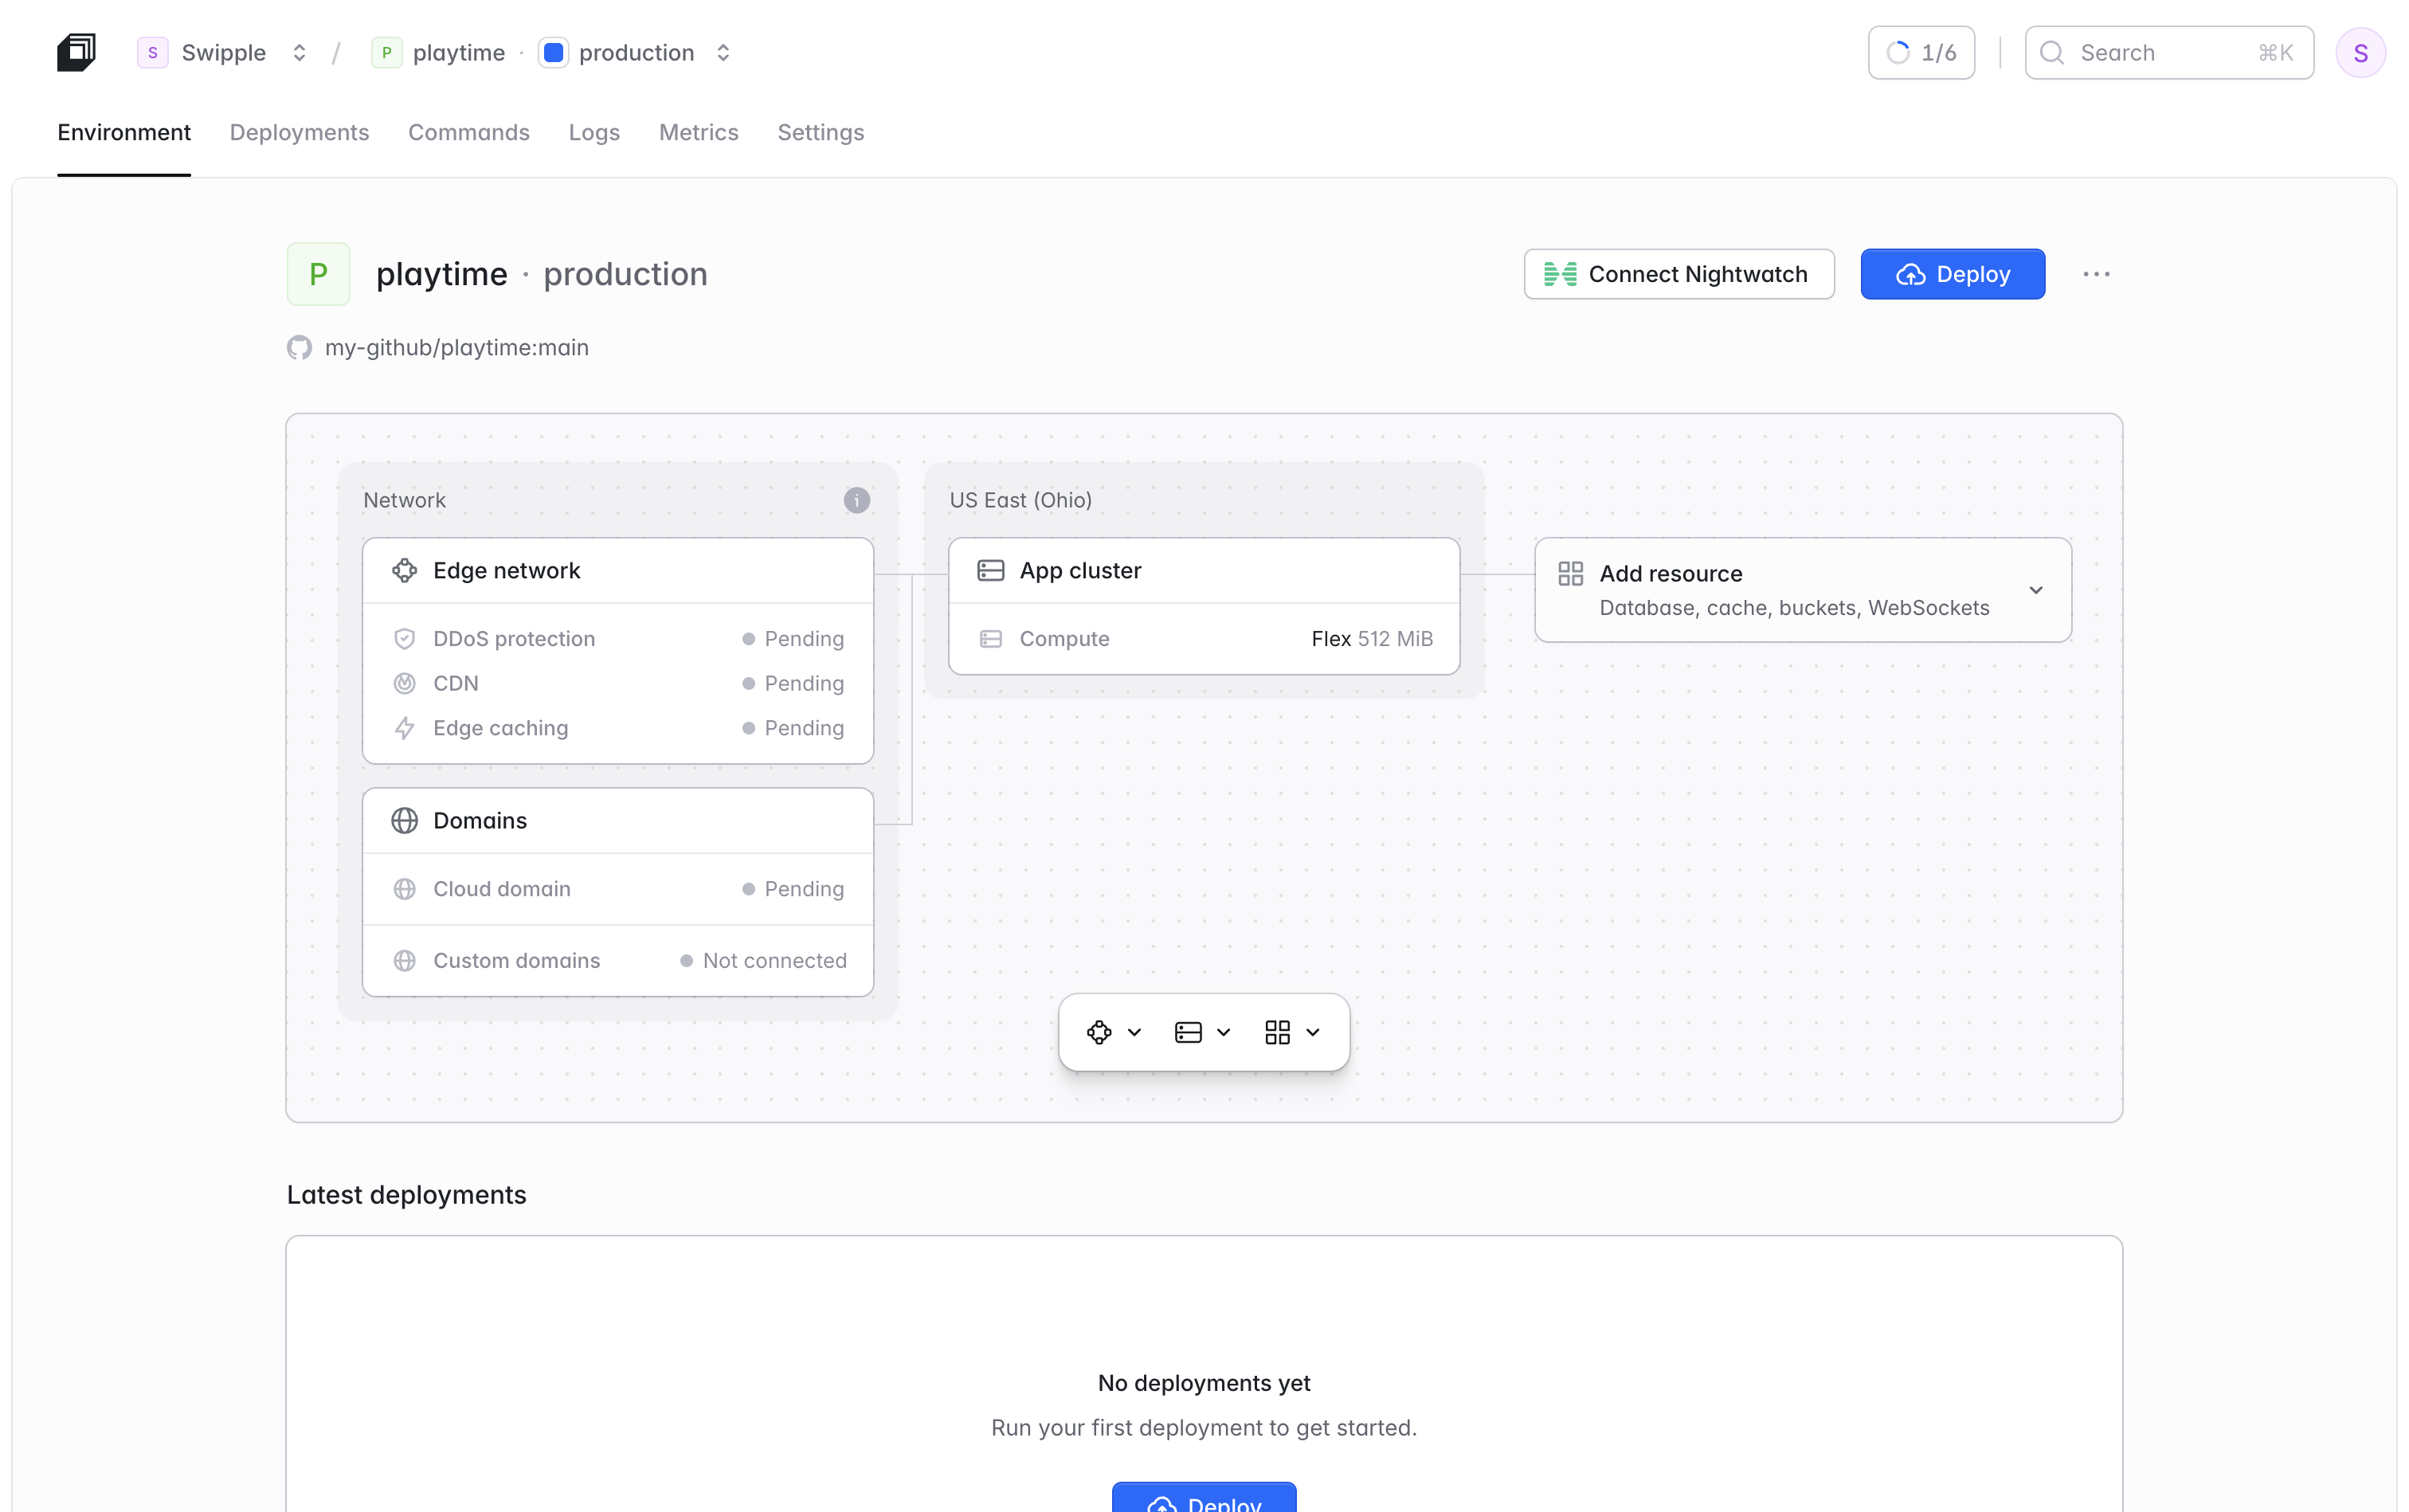
Select the PHP runtime
Set build and deploy commands
composer install --no-dev && npm run build
php artisan migrate --force
Add environment variables
APP_KEY. You can generate one locally and paste the value into the Laravel Cloud dashboard:php artisan key:generate --show
Deploy
Prerequisites
- A supported PHP version
- Symfony 7.4 LTS or 8.x
- A GitHub, GitLab, or Bitbucket account
Go to your main Laravel Cloud dashboard page and select + New application.
Connect your Git provider
Create a new application
php bin/console as the command runner.Select the PHP runtime
Set build and deploy commands
composer install --no-dev && php bin/console asset-map:compile
php bin/console doctrine:migrations:migrate --no-interaction
Add environment variables
APP_ENV and APP_SECRET in the Laravel Cloud dashboard:| Variable | Value |
|---|---|
APP_ENV | prod |
APP_SECRET | A securely generated secret string |
DATABASE_URL environment variable.DATABASE_URL or other Cloud-injected variables in .env.prod, those values take precedence over Cloud’s runtime injection. Keep Cloud-managed variables out of .env.prod to avoid unexpected overrides.Deploy
Prerequisites
- A supported Node.js, Bun, or Deno version
- A GitHub, GitLab, or Bitbucket account
Go to your main Laravel Cloud dashboard page and select + New application.
Connect your Git provider
Create a new application
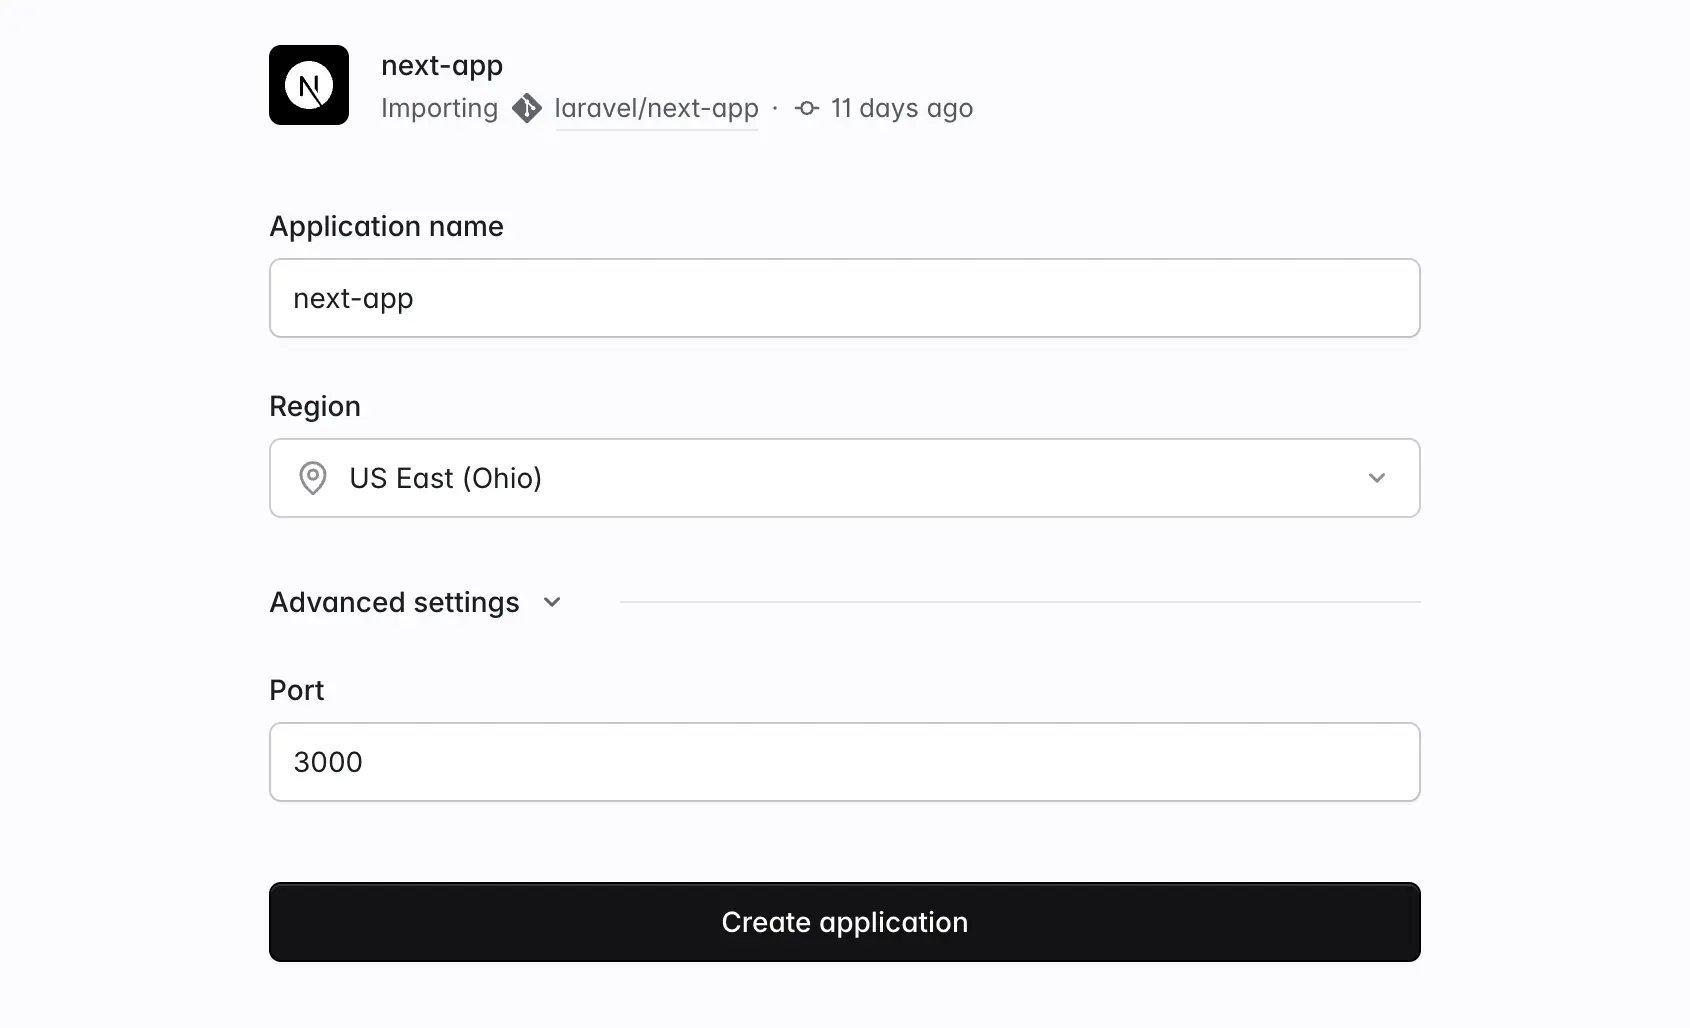
Adjust the runtime version
Set the build command
npm ci --audit false
npm run build
start script defined in your package.json (or the deno task start command, if you’re using the Deno runtime). You can override it from your deployment settings if needed.Add environment variables
NEXT_PUBLIC_ are available in the browser. All other variables are server-only.Laravel Cloud automatically sets NODE_ENV=production and NEXT_PUBLIC_SITE_URL (your application’s URL) on every deployment. If your application uses a database or cache, connect a resource from the infrastructure canvas. Laravel Cloud automatically injects the DATABASE_URL or REDIS_URL connection string.Deploy
Prerequisites
- A supported Node.js, Bun, or Deno version
- A GitHub, GitLab, or Bitbucket account
Go to your main Laravel Cloud dashboard page and select + New application.
Connect your Git provider
Create a new application
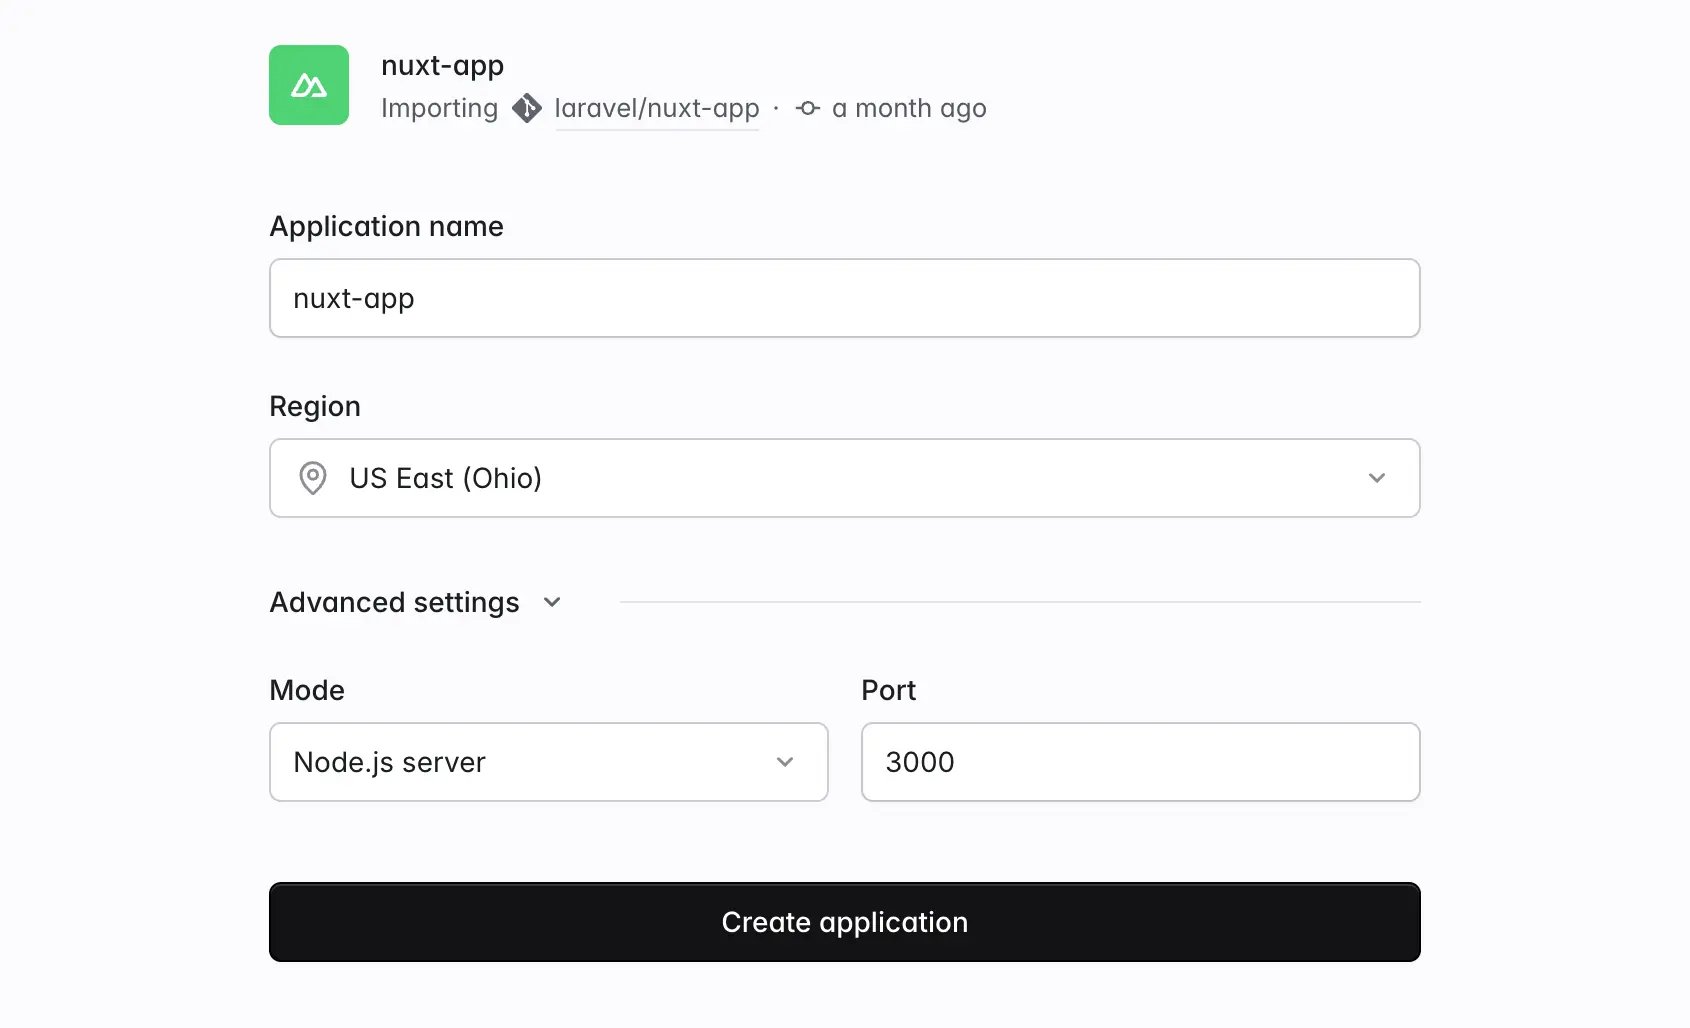
Adjust the runtime version
Set the build command
npm ci --audit false
npm run build

# alternatively for static site generation
# npx nuxt generate
.output/server/index.mjs with node, bun run, or deno run -A depending on your runtime. You can override it from your deployment settings if needed.node-server preset, which outputs to .output/server/index.mjs. If your nuxt.config was previously deployed to another host, remove any nitro.preset option (for example, vercel, netlify, or cloudflare) and any NITRO_PRESET environment variable. A leftover preset still builds successfully, but it produces output Laravel Cloud can’t serve. Your deployment then completes without routing any traffic to your application.Add environment variables
NUXT_PUBLIC_ are available client-side. All other variables are server-only.Laravel Cloud automatically sets NODE_ENV=production and NUXT_PUBLIC_SITE_URL (your application’s URL) on every deployment. If your application uses a database or cache, connect a resource from the infrastructure canvas. Laravel Cloud automatically injects the DATABASE_URL or REDIS_URL connection string.Deploy
Prerequisites
- A supported Node.js, Bun, or Deno version
- An Express, Hono, or other Node.js application with a
package.jsonfile at the root of your repository - A GitHub, GitLab, or Bitbucket account
Go to your main Laravel Cloud dashboard page and select + New application.
Connect your Git provider
Create a new application
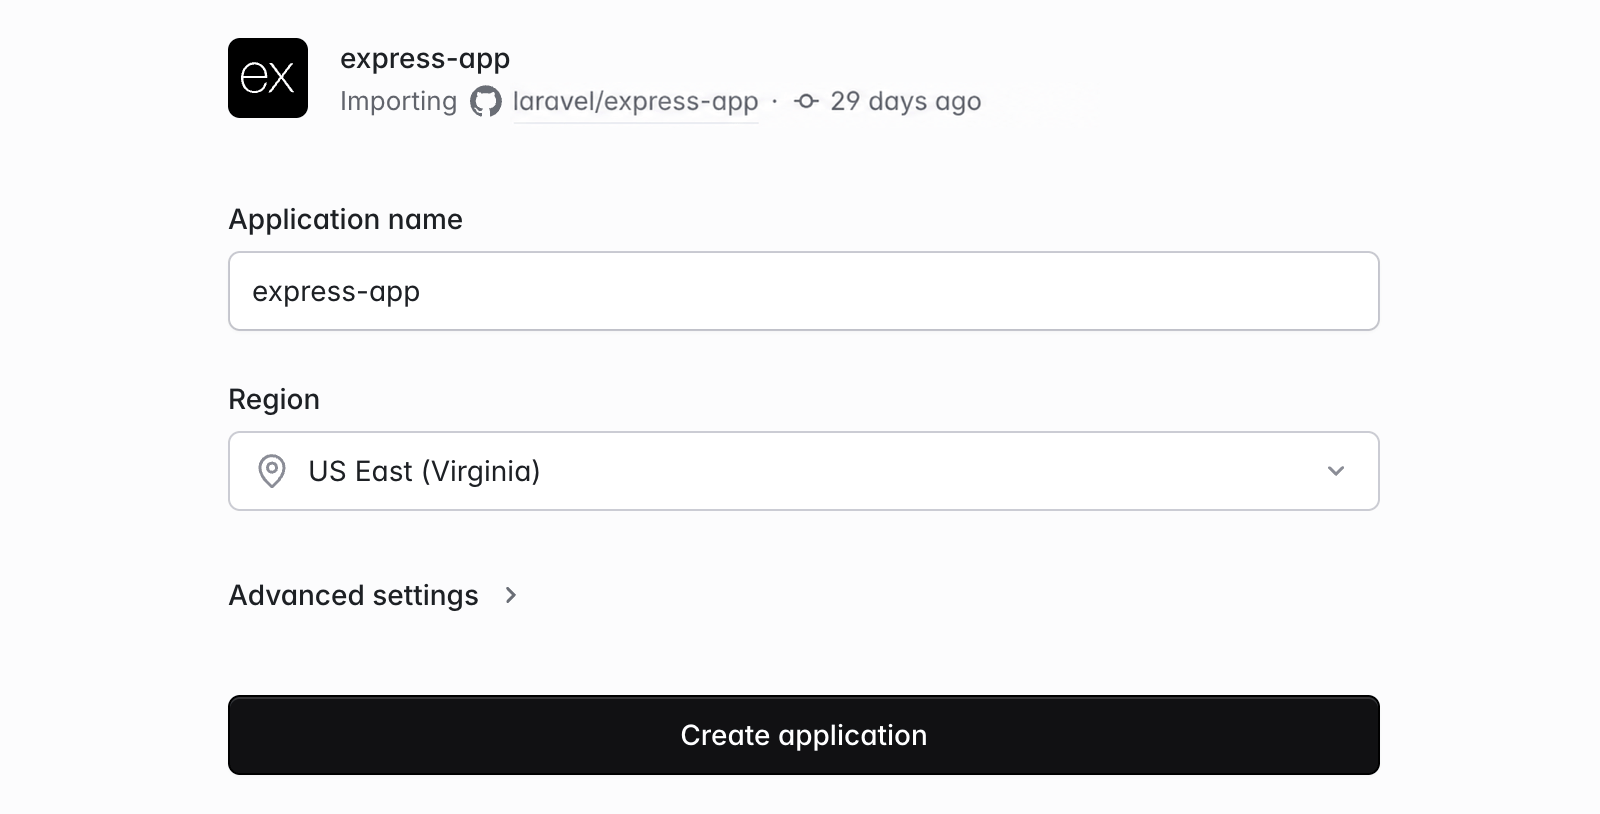
package.json file. Laravel Cloud still supports applications that don’t use a recognized framework as generic Node.js applications.Adjust the runtime version
Set the build and start commands
npm ci --audit false
npm run build to your build command.Laravel Cloud also pre-fills a start command based on the start script or main entry in your package.json file, such as node server.js. When Laravel Cloud can’t resolve either one to a file, the start command falls back to npm start (or bun run start or deno task start, depending on your runtime). You can override it from your deployment settings if needed.Add environment variables
.env file, so read them from process.env. Your application doesn’t need a loader such as dotenv.Laravel Cloud automatically sets NODE_ENV=production and APP_URL (your application’s URL) on every deployment. If your application uses a database or cache, connect a resource from the infrastructure canvas. Laravel Cloud automatically injects the DATABASE_URL or REDIS_URL connection string.Your application must listen on the port Laravel Cloud provides through the PORT environment variable (3000 by default):app.listen(process.env.PORT || 3000);
Deploy
Prerequisites
- A supported Go version
- A
go.modfile at the root of your repository - A GitHub, GitLab, or Bitbucket account
Go to your main Laravel Cloud dashboard page and select + New application.
Connect your Git provider
Create a new application
go.mod file and reads your Go version from the go directive at the top of that file.Set the build command
main package at the repository root and no detected cgo requirements uses:CGO_ENABLED=0 go build -trimpath -ldflags="-s -w" -o app .
cmd/server and sets CGO_ENABLED=1 when it detects cgo requirements. The default start command, ./app, runs the resulting binary. If you change the output path or binary name, update the start command to match.Add environment variables
DATABASE_URL or REDIS_URL connection string.Cloud supplies these variables through the process environment. Read them with os.Getenv.Your application must listen on the port Laravel Cloud provides through the PORT environment variable (3000 by default).Deploy
Prerequisites
- A supported Python version
- A
pyproject.toml,requirements.txt,Pipfile, orsetup.pyfile - A GitHub, GitLab, or Bitbucket account
Go to your main Laravel Cloud dashboard page and select + New application.
Connect your Git provider
Create a new application
Set the build command (optional)
python manage.py collectstatic --noinput
Set the start command
| Framework | Example start command |
|---|---|
| Django | gunicorn <project>.wsgi --bind [::]:$PORT |
| FastAPI | uvicorn main:app --host :: --port $PORT |
| Flask | gunicorn app:app --bind [::]:$PORT |
| Generic Python | python main.py |
<project>, Cloud requires you to replace it before deploying. Keep the server in your dependencies to control its version. For Uvicorn, use --host :: even if the pre-filled command uses --host ''. See the Python deploy guide.Add environment variables
DATABASE_URL or REDIS_URL connection string.Cloud supplies these variables through the process environment. Read them from os.environ. For Django, configure the environment and proxy settings before deploying.Deploy
Prerequisites
- A supported Ruby version
- A committed
GemfileandGemfile.lockin your application directory - A GitHub, GitLab, or Bitbucket account
Create an application
Gemfile.Laravel Cloud detects Ruby applications and recognizes Rails from its application configuration and framework files. If the repository scan reports a missing lockfile platform, run bundle lock --add-platform aarch64-linux locally, commit the lockfile, and refresh the scan.Review the Ruby version
.ruby-version, or review the other supported version declarations. When your repository does not declare a version, you may choose one in your environment’s General Settings.Review build and start commands
SECRET_KEY_BASE_DUMMY=1 bundle exec rails assets:precompile
bundle exec bin/rails server -b '::' -p $PORT
web command when one exists. Keep your server in the foreground, listening on PORT and accepting IPv6 connections. See the Ruby and Rails deploy guide for Puma, Rack, and generic Ruby commands.Configure Rails secrets and resources
SECRET_KEY_BASE. Preserve your existing value when migrating an application, and add RAILS_MASTER_KEY if production uses encrypted credentials.Connect a Postgres or MySQL database from the infrastructure canvas and include its pg or mysql2 adapter in your production bundle. Laravel Cloud supplies DATABASE_URL. Review any separate Solid Cache, Solid Queue, or Solid Cable connections before attaching the database.Review the deploy command
bin/rails db:prepare
Deploy
Prerequisites
- A
Cargo.tomlfile at the root of your repository - A GitHub, GitLab, or Bitbucket account
Go to your main Laravel Cloud dashboard page and select + New application.
Connect your Git provider
Create a new application
Cargo.toml file, and recognizes axum, Actix Web, Rocket, or warp from your dependencies. Cloud builds with a recent stable Rust release, or with the toolchain pinned in your rust-toolchain.toml file.Set the build command
cargo build --release
/var/www/bin, adds that directory to your PATH, and detects the binary your start command should run. If your package contains several binaries and you didn’t set default-run in your Cargo.toml before creating the application, update the start command to name the binary you want. See the Rust deploy guide for details.Add environment variables
DATABASE_URL or REDIS_URL connection string.Cloud supplies these variables through the process environment. Read them with std::env::var.Your application must listen on the port Laravel Cloud provides through the PORT environment variable (3000 by default), and it must accept IPv6 connections by binding to :: rather than 0.0.0.0. Rocket applications need no change, since Cloud configures Rocket’s address and port for you.Deploy